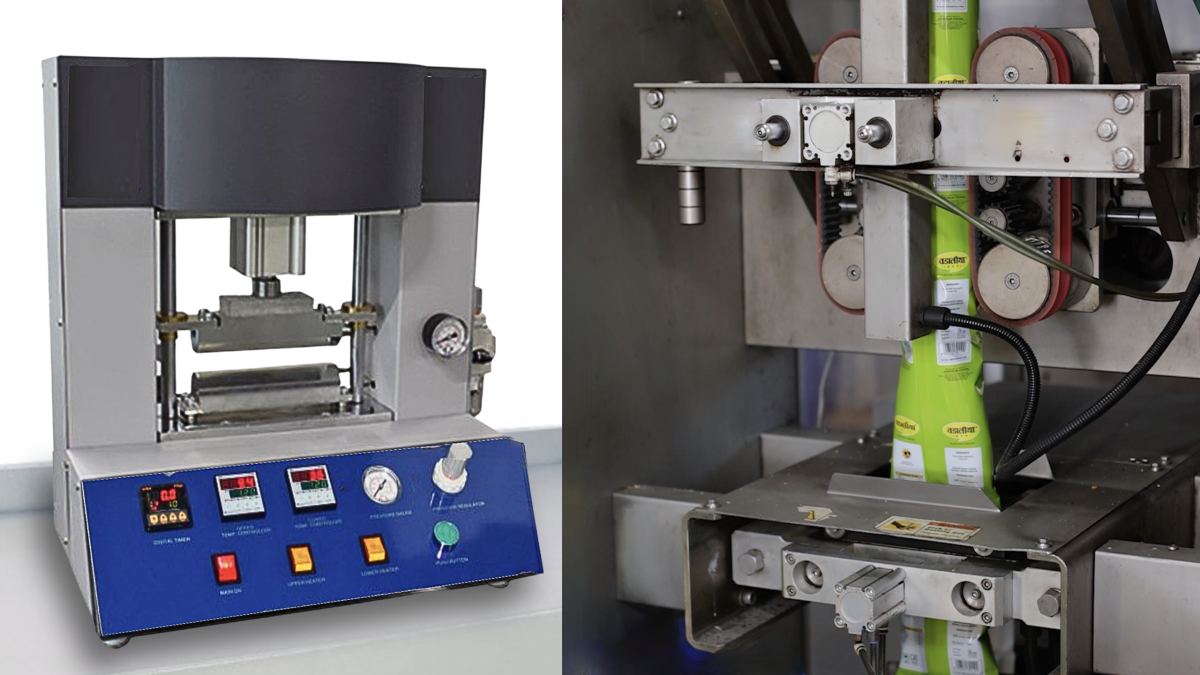
Establishing accurate knife and anvil adjustment methods on flow wrappers is critical not just for cutting, but also for producing quality seals and avoiding preventable production delays.
This Greener Corporation Tech Bite details setup procedures for shim style knives and anvils that consistently optimize package quality and productivity.
1. Check the Seal
Before installing knives and anvils, make sure your sealing adjustments are correct.
Temperature Settings
For heat seal applications, confirm that temperature settings are within the prescribed range.

Clearance
Clearance, the narrow gap between the upper and lower sealing jaw serrations, should be set just wide enough to create an interference fit for a double layer of film—generally about the thickness of a sheet of paper.
Trial Packages
Run trial packages, with product if possible. Cut the packages apart with scissors and test the seals with your standard method.

2. Clean the Slots
Once you are producing quality seals, remove old shims and clean product buildup in the anvil and knife slots.


Left uncleaned, this residue creates an unstable base that prevents knives from cutting cleanly and consistently.

3. Install the Anvil
Install a new anvil in the clean slot, typically in the lower sealing jaw.

Always replace the anvil along with the knife. A new knife paired with a worn, scored anvil requires excess pressure to cut and will fail prematurely.

Make sure you install the anvil with the working surface, which is ground with a radius, facing up. (Some anvils have a radius on both sides.)
The height of the anvil should range between the root and the mid-point of the serrations. Sealing jaws from some manufacturers have deeper slots that require shims to raise the anvil up to the proper position.

If your anvils and knives are held in from the end, don’t overtighten the set screw—this can arc them upward in the center and prevent a clean cut.

4. Adjust the Knife
Shims
Install the new knife with a .005” or .15 mm thick shim. If your sealing jaws have deeper slots, you’ll need a thicker shim to start.
Shims should be high quality stainless steel, free from burrs or kinks, and slightly longer than the knife.
Check Setup
If your sealing jaws are heated, allow the knives and anvils to reach operating temperature.
Check your set-up by running a standard piece of notebook paper through the jaws.
Additional Shims
If the knife doesn’t cut, add a .003″ or .05 mm shim and check again.
If it still doesn’t cut, raise the knife by replacing the two shims with a single, .010″ or .25 mm shim.
Continue to add shims, if needed, until the knife cuts cleanly.
Always use as few shims as possible. Multiple shims create an unstable platform that prevents the knife from producing consistent cuts.
Troubleshooting
If a new knife needs to be overadjusted to cut, such that you can hear it banging and feel the heavy impact with your hands, you may need to address other conditions on your flow wrapper such as spring pressure adjustments, worn springs, damaged bearings, and damaged sealing jaws or shafts.

Never use clearance to adjust the knife. This will cause sealing problems and force you back to the first step, to readjust your sealing setup and then reset the knife.
Once you are successfully cutting and running production, be aware that temperature variations, due to changes in line speed or for different products or packaging materials, may require slight readjustments of the knife.