Changes on horizontal flow wrappers occur regularly—during sanitation, product changeovers, part installations and adjustments, maintenance, and from wear and tear. These changes can impact the success of your next production run, yet they often go unnoticed.
This Greener Tech Bite presents our quick, Preventative Maintenance Checklist. By investing five or ten minutes to inspect these four areas before starting production, you will be up and running more quickly and avoid hours of downtime.
1. Package Formation
2. Controller
3. Sealing Jaws
4. Cutting & Sealing
It’s easy to underestimate the value of these inspections, or to skip them when time seems too tight. But even details that may seem insignificant, such as a protruding screw in a deck plate, can cause problems.
Not everything you discover will require immediate action. But you’ll be able to track conditions such as backlash or jaw wear and know when its time to correct them—before they degrade package quality and disrupt production. When urgent problems do occur, you can compare current conditions with previous inspection results to recognize what has changed and resolve the issue.
1. Package Formation
Begin by checking the Package Formation components. Small, seemingly insignificant variations here can create wrinkles, pleats, and other deformities that cause leakers and other problems.
♦ Are the Deck Plates, Guards, and Rails properly installed, tightened, and adjusted for the product you are running?
♦ Make sure the Forming Box is the correct size or, if adjustable, has been set to the right dimensions. Is it installed and tightened properly?
2. Controller
♦ Moving to the Controller, confirm that the Recipe for package length, temperature settings, and other variables is set for the current product.
♦ Are the Fin Wheels worn, damaged, or contaminated with product?
3. Sealing Jaws
♦ Are the Sealing Jaws clean? Check the jaws for wear and damage.
♦ Is there excessive backlash, or free play, between the upper and lower shafts?
♦ Run a Carbon Impression for each pair of sealing jaws and check clearance and alignment. Look for additional evidence of wear or damage.
Be sure to date and save the impressions; over time they will help you document change and solve problems.
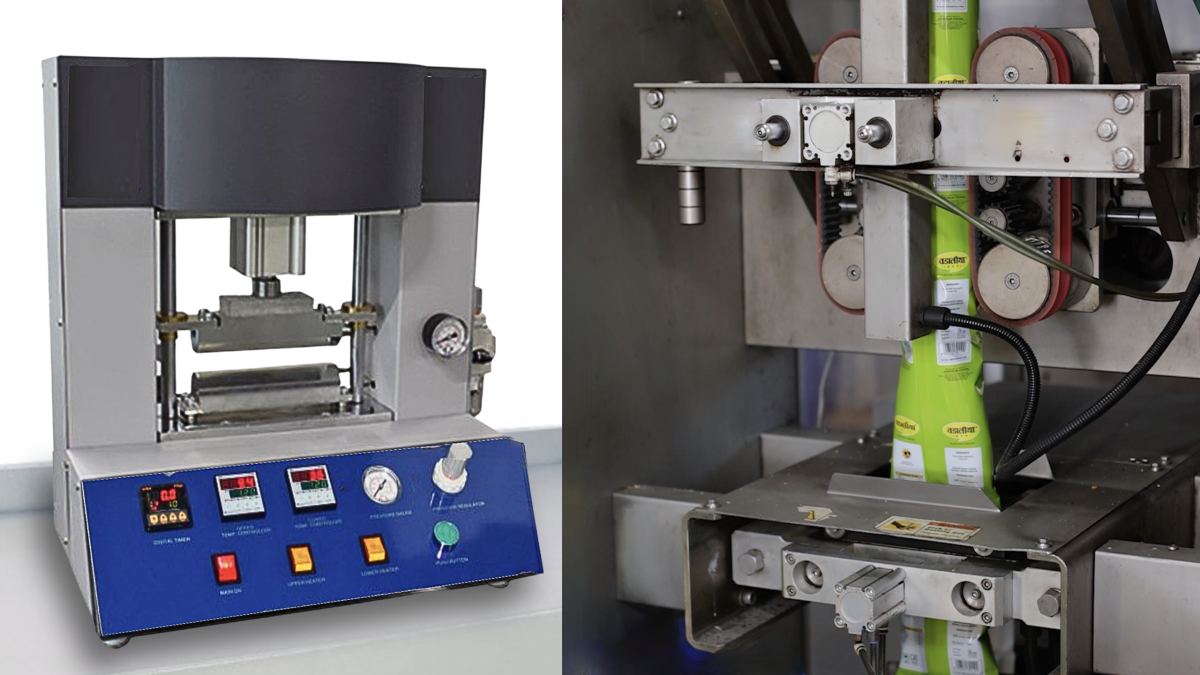
4. Cutting and Sealing
Lastly, inspect the Cutting and Sealing process. Even without product, you can check the basics. Mount the packaging material roll and run some film through the head.
♦ Is the Material Registration correct?
♦ Are the knives adjusted properly and Cutting cleanly, without banging?
♦ Are you getting good Seals?
♦ Make sure the Product Carriers and Discharge Guides, such as brushes and belts, are properly set and will not impede packages as they move through and exit the cutting and sealing head.
When you perform regular Preventative Maintenance Inspections, you’ll have time to make corrective adjustments before you are under the stress of production. Once product comes down the line, you will get up and running more quickly, with less scrap. And you’ll be able to keep running, with fewer problems and less downtime.